DIY Window Cleaning Tips for Streak-Free Results


Why Clean Windows Matter
Clean windows can significantly enhance the aesthetic appeal of your home, allowing more natural light to enter and providing you with a clearer view of the outdoors. However, achieving a streak-free shine can be tricky. With the right techniques and tools, you can easily master the art of DIY window cleaning.
Not only does regular window cleaning improve the look of your home, but it also helps in maintaining the integrity of your windows by removing dirt and debris that could potentially cause damage over time.
Gathering the Right Tools
Before you begin, it's essential to gather the right tools. Having quality equipment can make all the difference in achieving streak-free results. Some basic tools you might need include:
- A squeegee
- A bucket
- Microfiber cloths
- A sponge or scrubber
- A spray bottle filled with a cleaning solution
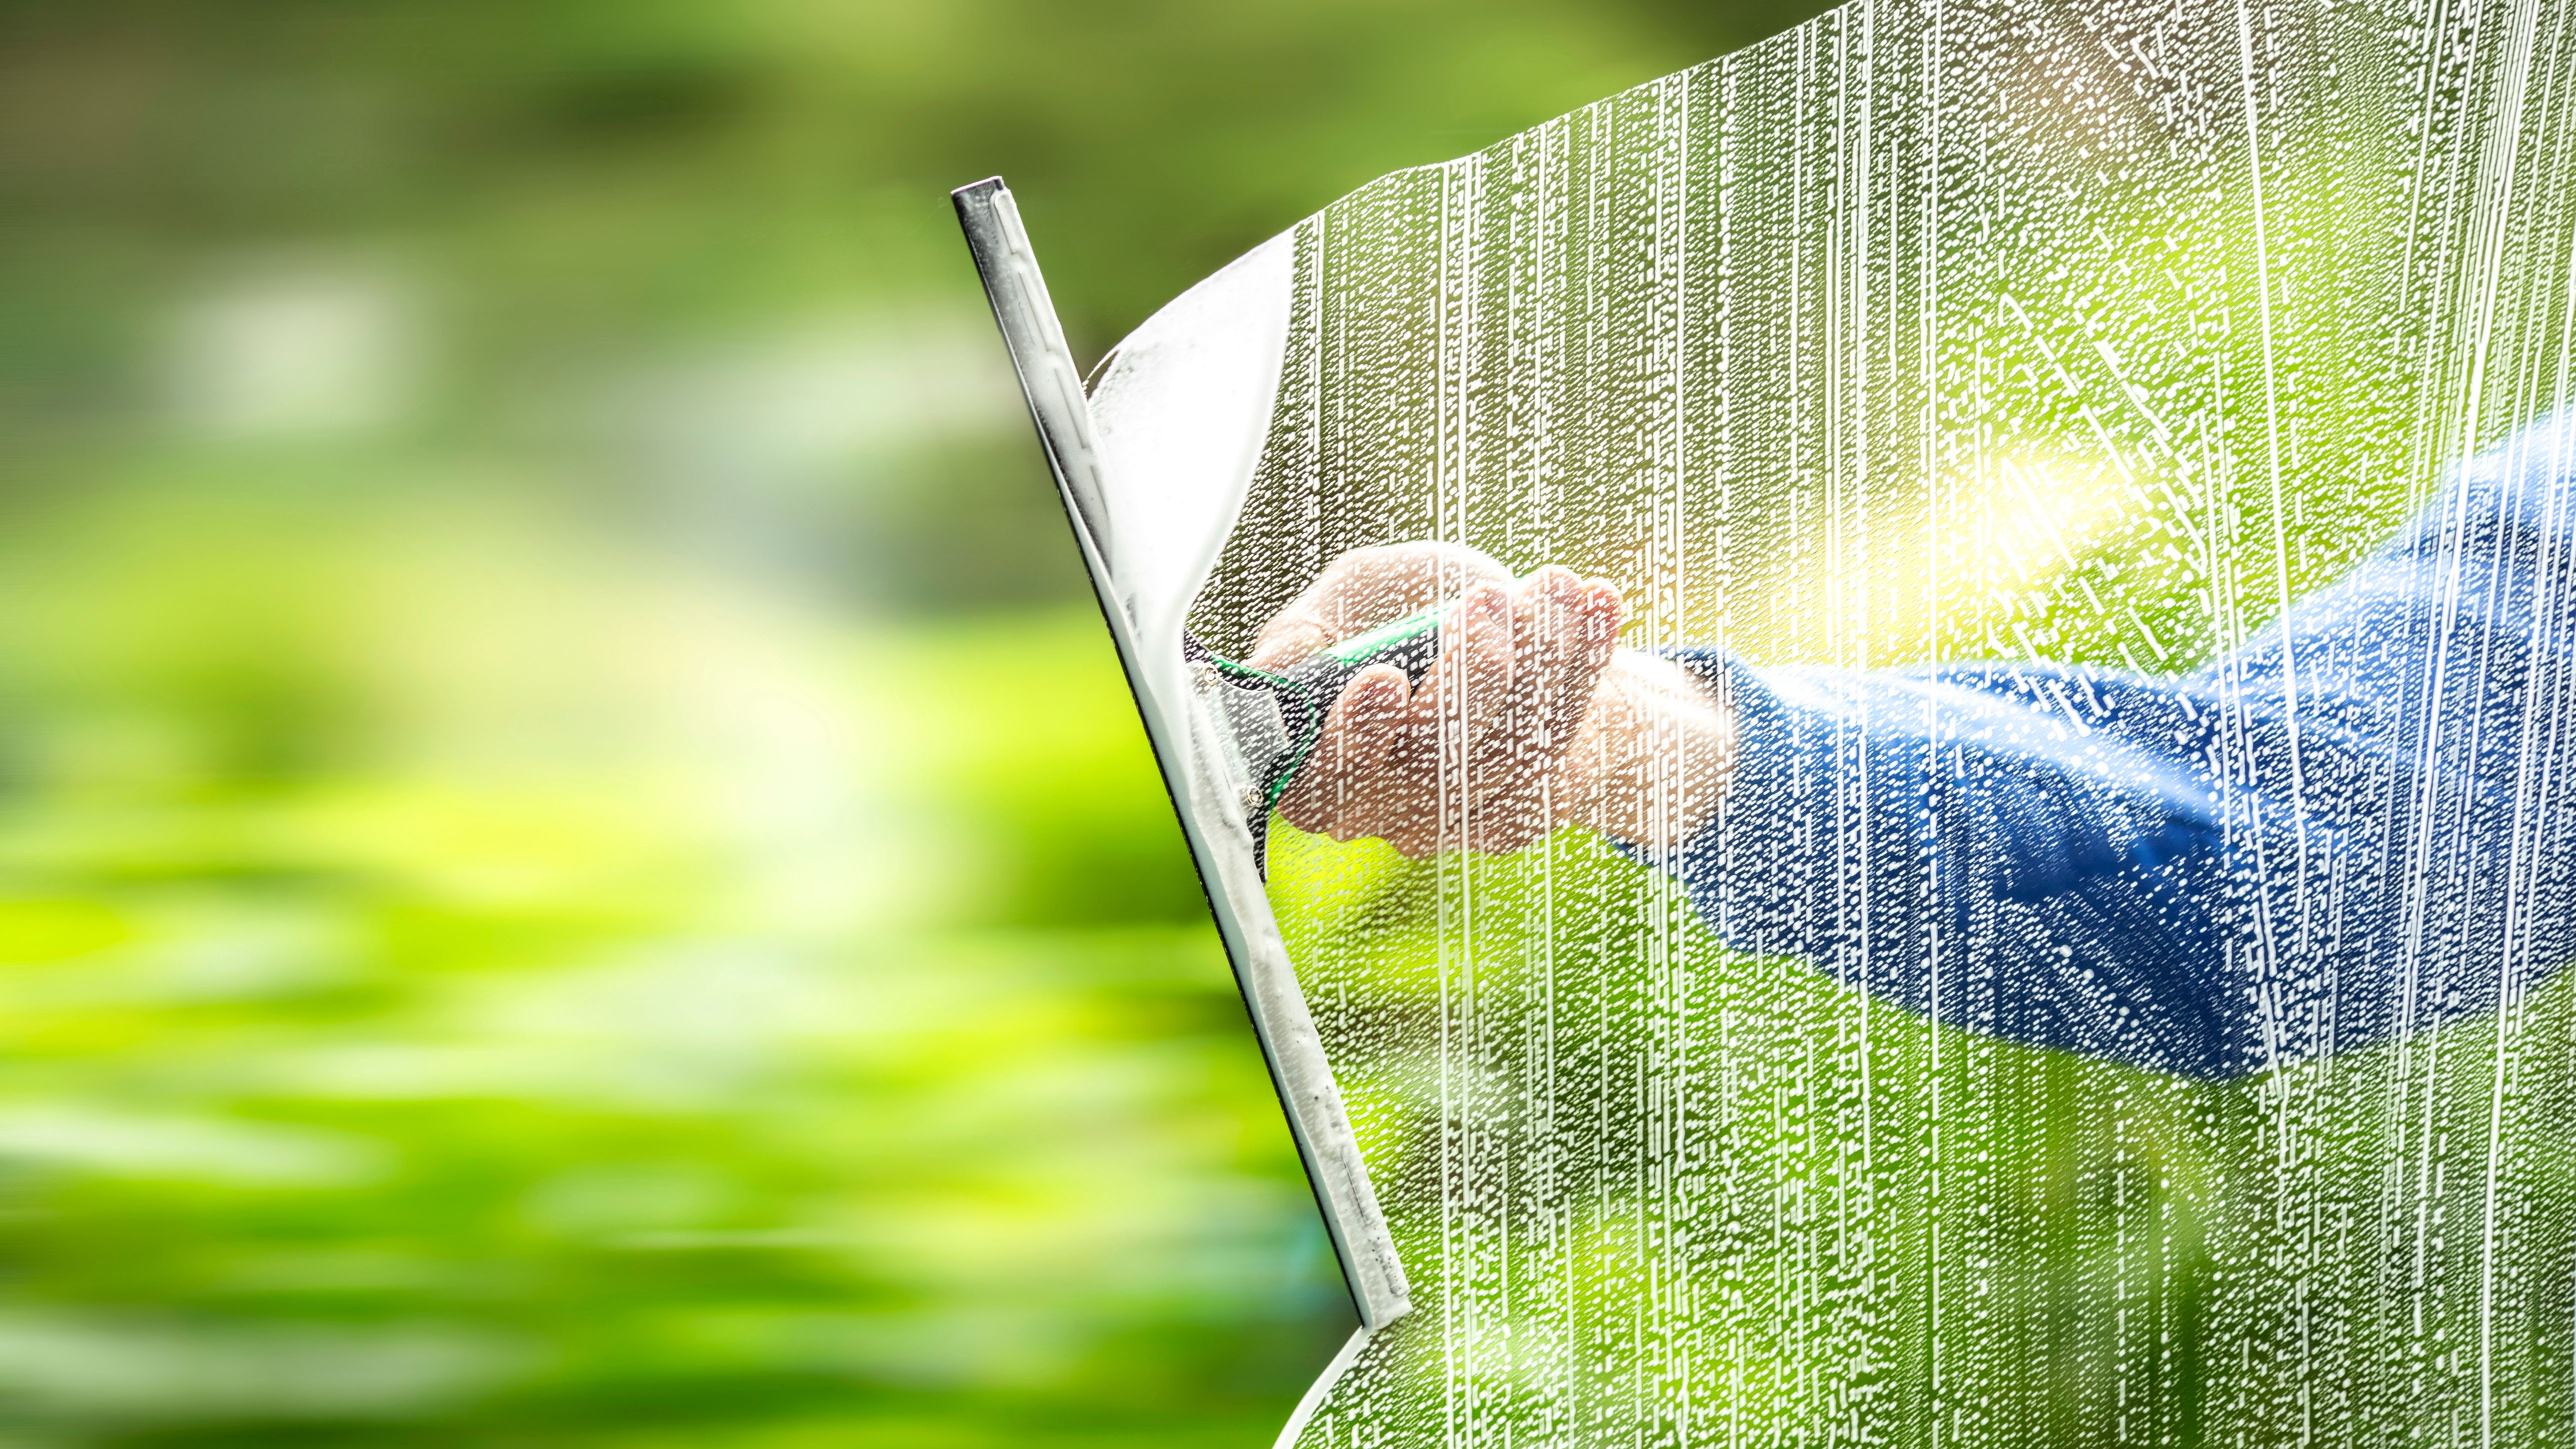
Investing in a good squeegee is particularly important, as it helps remove excess water effectively without leaving streaks.
Choosing the Right Cleaning Solution
There are several options when it comes to selecting a cleaning solution. You can either purchase a commercial window cleaner or make your own. A popular DIY solution involves mixing equal parts of water and white vinegar. This environmentally friendly mixture is not only effective but also cost-efficient.
For particularly stubborn grime, adding a small amount of dish soap to your solution can help break down dirt and grease. However, be cautious with soap as using too much can leave behind residues.
The Cleaning Process
Start by removing any dust or loose dirt from the window surface using a dry microfiber cloth. This step is crucial to prevent scratching the glass during the cleaning process. Next, apply your chosen solution generously across the window surface using a spray bottle or sponge.
Using your squeegee, start from the top corner of the window and draw it down in a straight line. Wipe the blade with a clean cloth after each pass to avoid streaks. Repeat this process across the entire window surface.
Drying and Polishing
Once you've finished with the squeegee, use a clean, dry microfiber cloth to wipe away any remaining moisture around the edges and corners of the window. For an extra shine, polish the glass with a slightly dampened cloth using circular motions.

Additional Tips for Success
It’s best to clean your windows on a cloudy day or when they’re not in direct sunlight. This prevents the cleaning solution from drying too quickly, which can leave streaks. Additionally, make sure to change out your cleaning water regularly to avoid reapplying dirt onto the glass.
For multi-pane windows, consider using a smaller squeegee for greater precision. Taking your time and paying attention to detail will ensure that each pane is left sparkling clean.
Maintaining Clean Windows
To keep your windows looking their best for longer, consider implementing a regular cleaning schedule. This could be every few months or more frequently in areas prone to dust or pollution.
By following these DIY window cleaning tips, you can enjoy streak-free results that brighten up your home and leave your windows looking professionally cleaned.